Ability to encrypt your email, upload files securely, create password hint and add your own secure file upload signature in Outlook. Follow the instructions below on how to install add-on.
Step 1 - Outlook Add-In Installer
To use our Secure Cloud Send add-in for Outlook on your desktop, you'll need to download and install the setup file by clicking the button below.
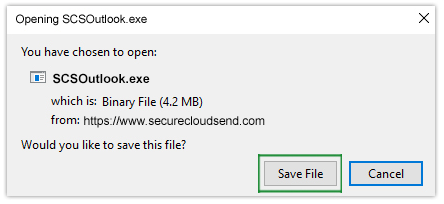
Download Outlook Add-In InstallerClick 'Save File' to being the installation setup.
Step 2 - Add-In Setup Wizard
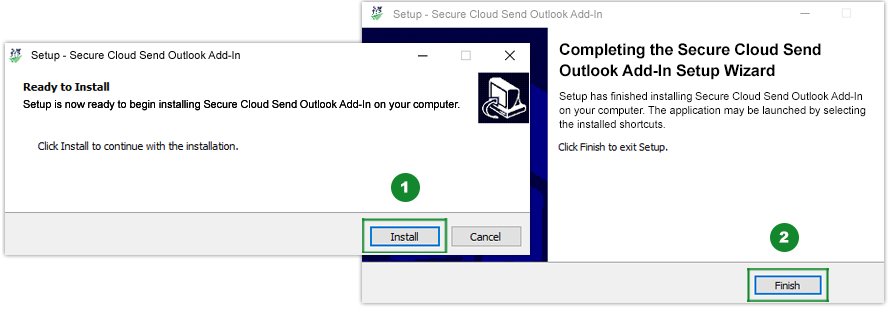
In the setup wizard, click Install (1) and then click Finish (2) to complete installation.
Step 3 - Install Add-In Customization
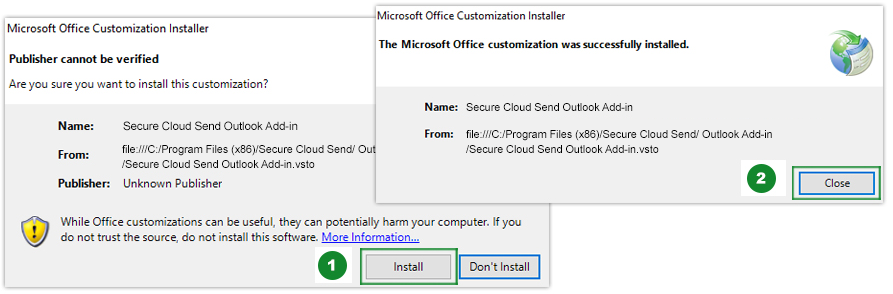
In the add-in customization popup, click Install. After the customization has been successfully installed, click 'Close'.
Step 1 - Open Outlook
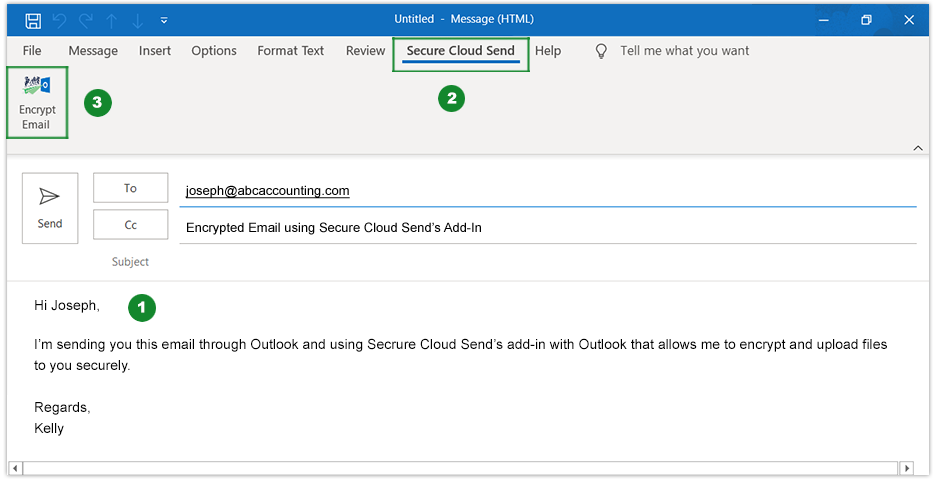
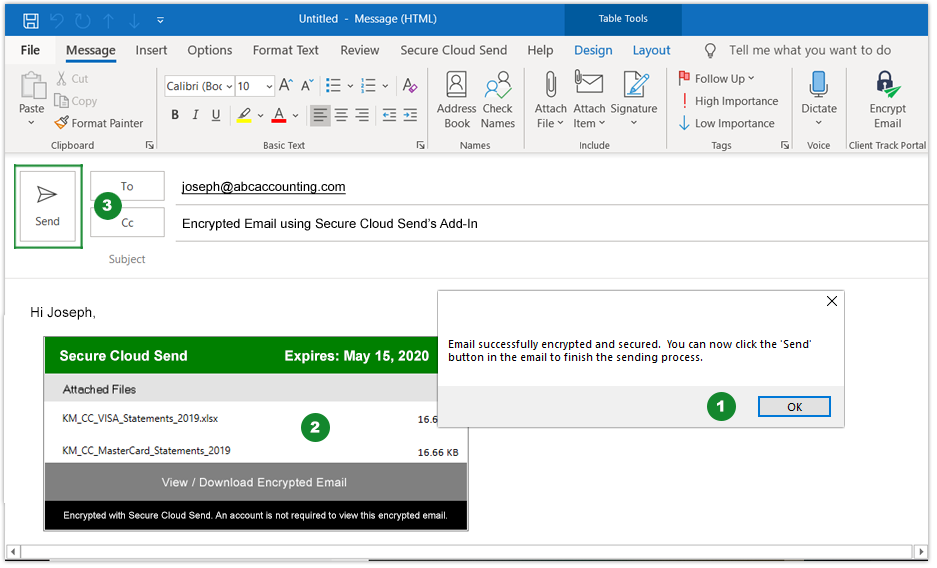
Open up a New Outlook Compose email window as you normally do and enter in all To, Cc, Bcc, Subject and email body as you normally would, then click the Secure Cloud Send tab (2) on the top ribbon bar and then click Encrypt Email (3).
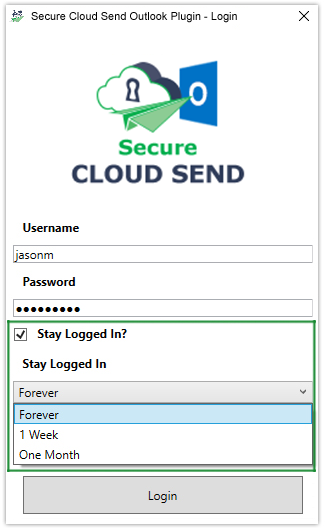
Step 2 - Secure Cloud Send Login
In the popup window, insert your login credentials, check off Stayed Logged In and select 'Forever' and then click Login.
*Note - The login popup will only appear if you do not check off 'Stay Logged In'.
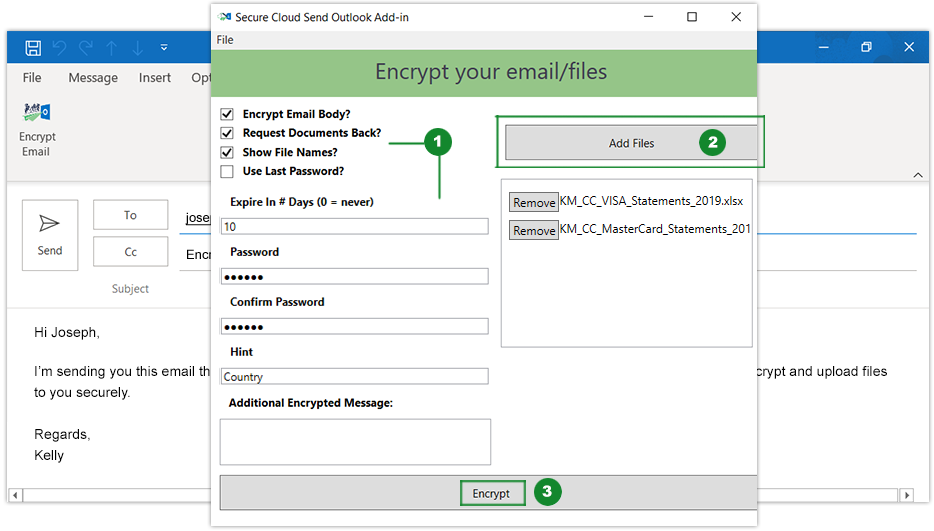
Step 3 - Encrypt Email & Files
Check off 'Encrypt Email Body' & 'Show File Names' (both optional), enter in password and password hint. To attach file(s) to email, click Add Files (2) and then click Encrypt (3) to complete email.
*Note - If you do not check off 'Show File Names' (1), the file name(s) will be displayed as 'Hidden, Click link to view' only in the sent email. If you check off 'Encrypt Email Body', your email message in Step 4 will be hidden but visible after recipient unlocks email (Step 8).
After email has been successfully encrypted, click 'Ok'. Click Send to send secure email to recipient.
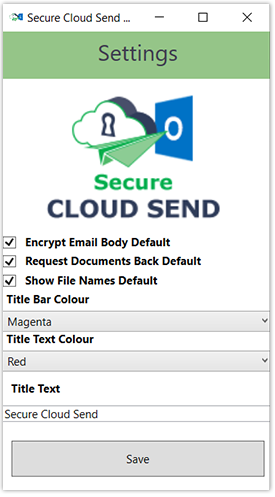
Step 4 - Settings (Optional)
If you wish to customize the settings of the encrypt email body, go to File > Settings.

In 'Settings' window, select options that you want to include and customize and click Save.
Step 1 - Email Notification
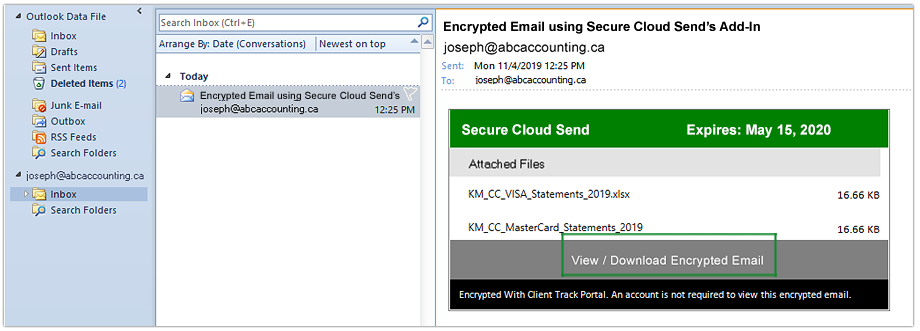
After email has been sent, the recipient will receive an email notification including a preview list of all of the uploaded files. To view the encrypted email content and files, click View/Download Encrypted Email (see below).
* No Portal account required to view encrypted email *
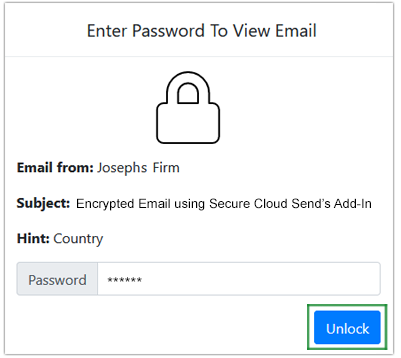
Step 2 - View Encrypted Email
Enter in the password based on password hint and click 'Unlock' to view encrypted email.
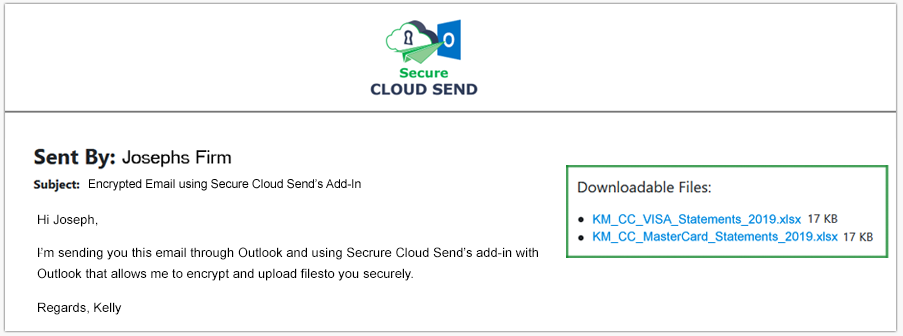
Step 3 - Download Attached Files
In the encrypted email, you will see an email message from sender and attached files ready for download. Keep in mind, the links to the files will expire based on deadline date as indicated in the email notification (Step 5 screenshot).
 CAN
CAN  USA
USA
