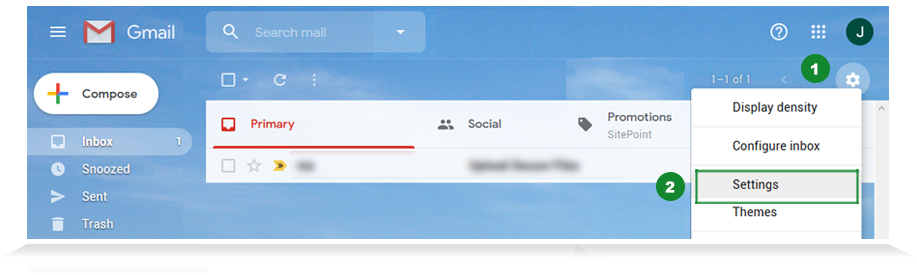
Step 1 - Email Settings
Log into Gmail/G Suite, click on the gear icon to the right (1) and select 'Settings' (2).
Step 2 - Create Email Signature
Click on the 'General' tab (1) and scroll down to Signature section (2) and check off second option (below 'No Signature'). In the edit signature area, add your information and copy and paste your signature link from Step 2 and save.

A small banner image appears as shown in screenshot (3) containing your unique link when clicked on. Click 'Save' to save signature. You can right-click on image banner to see your unique link url as shown below.
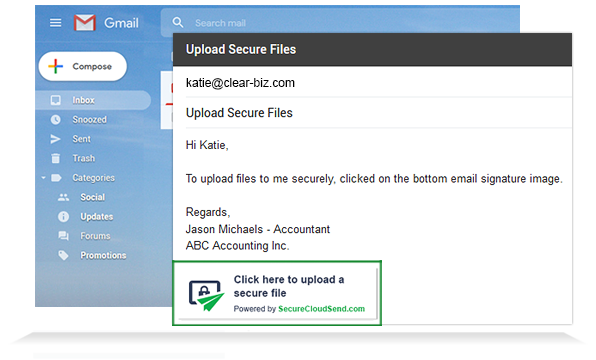
Step 3 - Compose Email Message
With your updated email signature, compose an email message to recipient to upload secure files via signature link.

Step 4 - Upload Files Securely
After clicking the signature link, enter in your email, subject title (1) and drag 'n drop your files (2) in white area and click Submit. That's it! A message will appear letting you know that the files have been sent successfully to recipient.
The process is easy, quick, secure - all uploaded files will be encrypted.
Step 5 - Email Notification
The recipient receives an email notification that the sender has uploaded their files via email signature link.

Step 6 - Log Into Secure Cloud Send
Log into Secure Cloud Send using your login credentials.
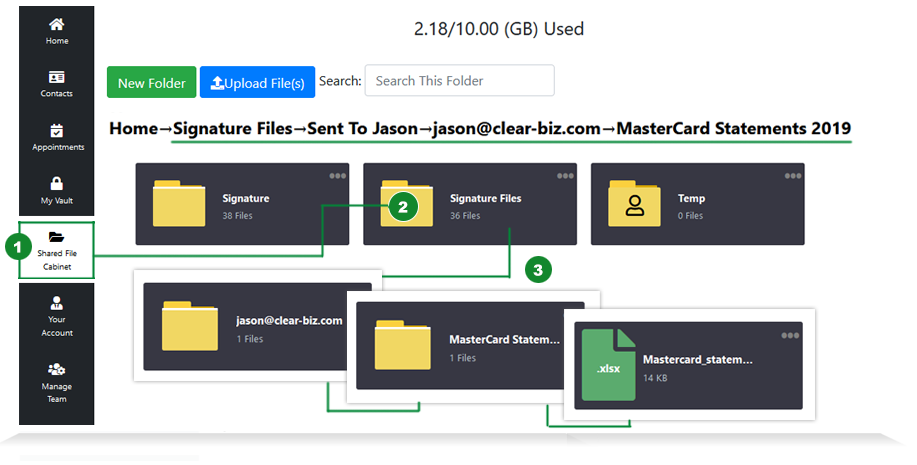
Step 7 - Shared File Cabinet
After sender has uploaded their files to you, the files automatically appear in the 'Signature Uploads' folder in your Shared File Cabinet. To get to the folder, click 'Shared File Cabinet' (1) from sidebar and click 'Signature Uploads' folder (2).
You can view details, add comments, download and securely send files to third parties that are not using Secure Cloud Send.
Add Secure File Upload Link to Email Signature
Select an email application and follow the steps on how to add Secure File Upload link to your email signature.
MS Outlook MS Outlook 365 Gmail/G Suite CAN
CAN  USA
USA
